Homeschooling 9/23

We’ve been homeschooling right from the start! M is now in fifth grade (she has an October birthday, so if she were in public school, she’d be in fourth grade), and F is in second. They’re growing up too quickly!

Our schooling routine goes through phases and always leans toward unschooling (no set curriculum), but we’ve been in a good groove since this past spring and kept it up through the summer. In the morning, the girls have to do math and reading before they’re allowed any screens. Math is often Prodigy (a game), but we’ve also gone back to Khan Academy when they’ve needed extra help from me to grasp a concept. It’s nice that I can do the teaching, but then they can be fairly independent when it comes to practicing. And gamifying it makes it tolerable to them!

Reading is reading — they have to do fifteen minutes but usually go longer. We didn’t use to have a daily reading requirement, but I’ve noticed so much improvement since we started with it! Especially with F. She went from early/easy readers in January to now reading the same Warriors graphic novels as M. She also recently read The Last Firehawk (book one) and is looking forward to getting more in that series. M loves graphic novels, especially more realistic ones about girls her age or a bit older. Raina Telgemeier is one of her favorites. She had it in her head that she didn’t like fantasy, but her love of cats eventually won out, and she started reading the Warriors series. The graphic novels were first, but now she’s working on the regular books.

Everything else gets worked into our daily lives. The girls have always been intrigued by Greek myths (we’ve read a few different versions of some of the popular ones), so we’ve been reading about ancient Greece at bedtime. It seems like a funny place to jump into world history (though we have learned a bit about earlier civilizations here and there), but it works because they’re interested in it.

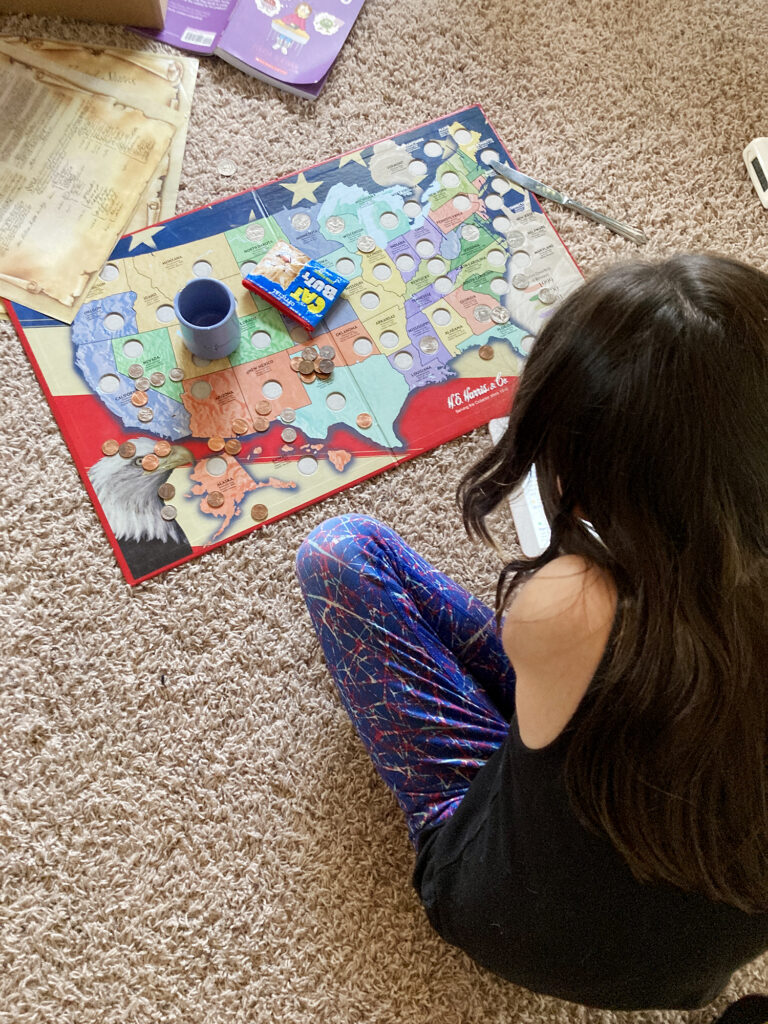
Other random stuff pops up from time to time. M has been mildly interested in the different quarters, and she pulled out all her coins when my mom gave her the US state quarter collecting board in the photo above. I had randomly seen something about a rare Wisconsin quarter, which piqued M’s interest in rare (and, more importantly, VALUABLE) coins, and she had to look at them all to see if she had any treasure on her hands. That has led to learning about the different markings on coins, where they’re made, and how they’re made. It’s neat to see what comes up naturally!
Summer Sewing

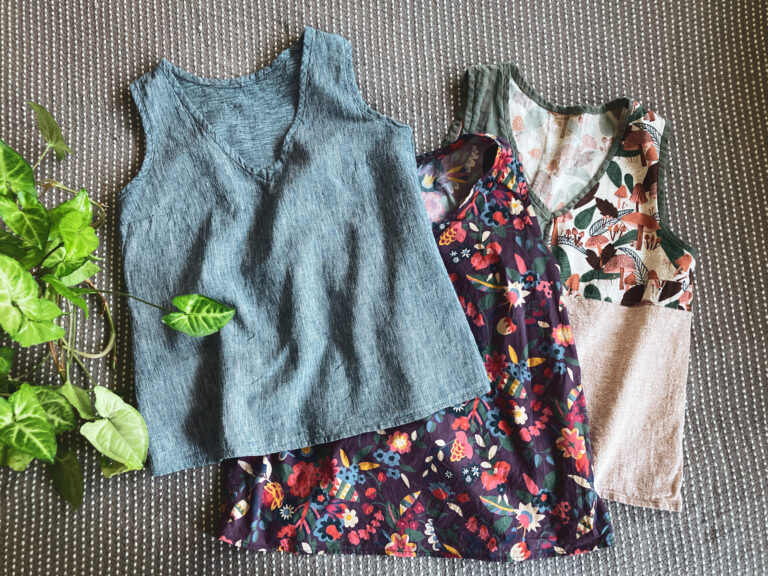
Three sleeveless shirts.

I’ve been doing so much clothing-sewing this summer! It’s been really satisfying. These three tank tops are from this pattern on Etsy. I’ve made some adjustments in each version I’ve sewn. I made the V-neck a bit shallower and lengthened the armholes/straps just a little. I love the fit of the body, though — loose without being boxy.

I’ve made a few trips down to the cities to go to SR Harris (a fabric warehouse — huge selection, good prices, but it’s definitely a treasure hunt) this spring/summer, and I think all of the fabrics I used in these tops came from that store. The middle tank top, which I didn’t realize I hadn’t ironed until I went to take the photo!, is a Liberty print in their cotton lawn. I didn’t expect to find that at SR Harris! The one on the left is a linen/cotton blend — my favorite of the three. And the one on the right is a patchwork of different linen fabrics I had.

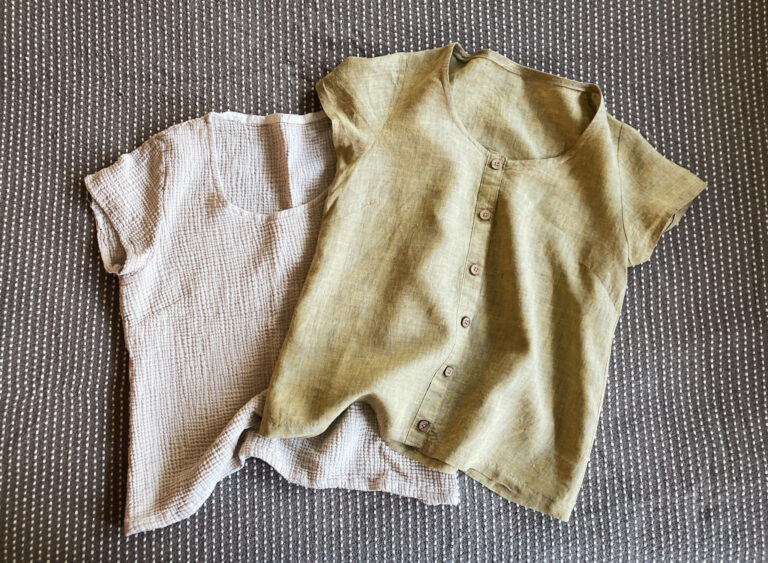
Two short sleeve shirts, one with buttons.

These are probably my favorite shirts. Depends on the day! I used the bodice pattern from Sew Liberated’s Hinterland dress but lengthened and shaped the body from the darts down using the tank top pattern above. I love the combo!! The off-white one is cotton double gauze, and the one with buttons is linen. The buttons are purely decorative. I made one finished front placket but just serged the other front edge and stitched the placket side over it. Then sewed on the buttons.

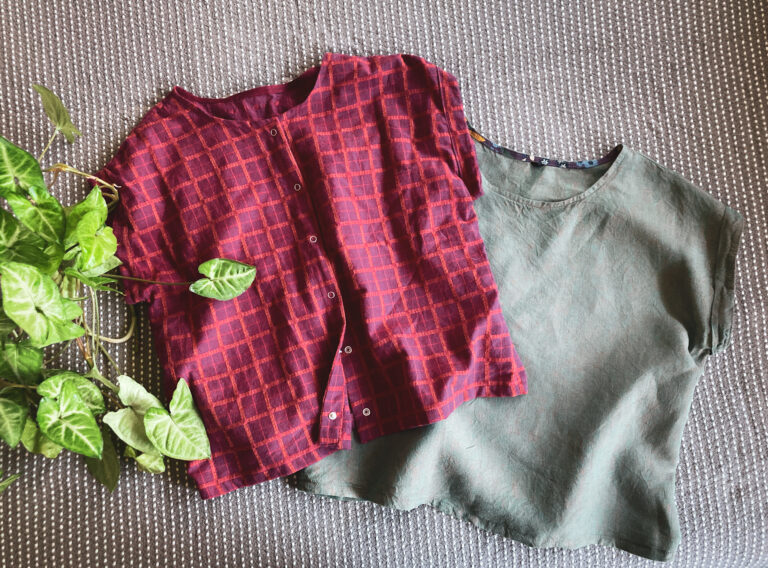
Two short sleeve shirts, one with snaps.

These are from All Well’s Box Top pattern. There could not be an easier/faster top to sew up! I’ve made more than these two, but these are my favorites. My favorite thing is doing the version without sleeves but adding a cuff to the ends of the “sleeve” holes. I also like to sew up the plain pattern but then split it down the front and add a placket to each side. I did that with the red one and put snaps up the front. I didn’t take a photo, but I’ve done two long-sleeve shirts this way, out of double gauze. I call them my Baby Grandma shirts — the style is so grandma-y, but I feel like a baby wrapped up in gauze.

I’ve also made so many pairs of All Well’s Studio pants, but they’re harder to photograph. There have been a few failures here and there, and I definitely wear some items much more than others, but overall, I’ve been really happy with the results of my summer sewing! Some of my homeschool mom friends also love to sew clothes, and that’s been hugely motivating. It’s really fun to share results with people who care and who understand the work that goes into it!

Everywhere Cats

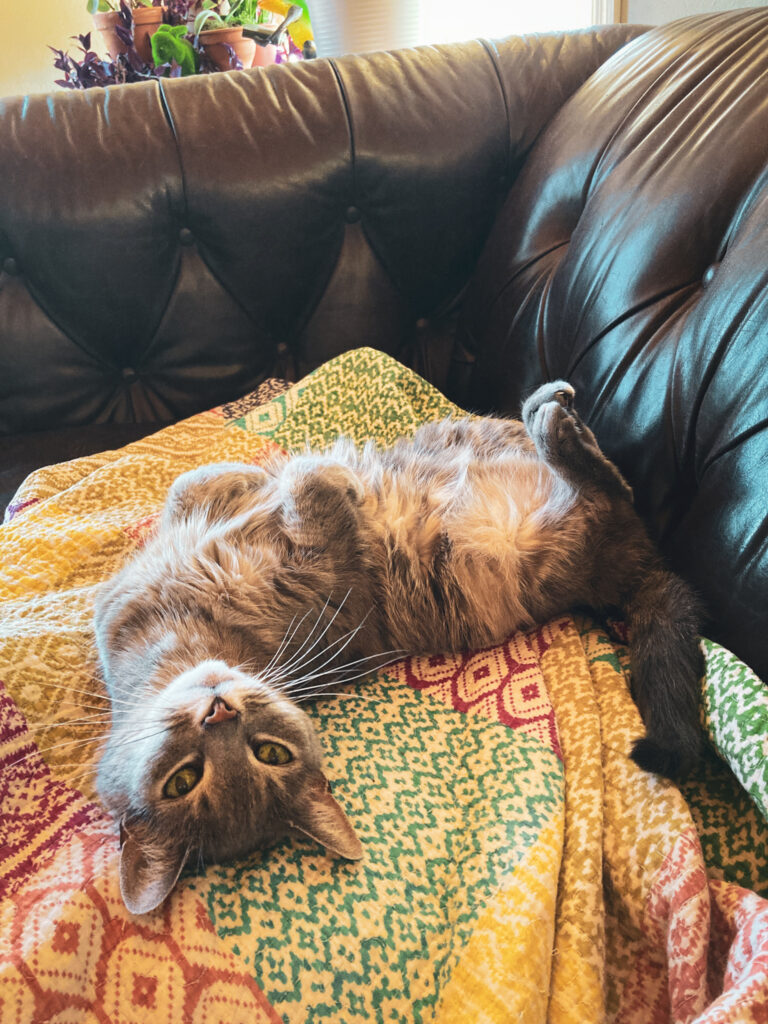
This is Beany cat, who is now officially seventeen years old! You can sort of tell that she’s on the skinny side, but only just a bit. She sure hasn’t started ACTING her age! She still goes a little crazy from time to time and tears around the house, and she still thinks it’s safe (and maybe funny?) to walk along the stair railing while I tell her to get down before she falls. And she’s still *definitely* the boss of the animals!

We have five cats, and I used to be able to say, “but two of them are outside most of the time,” except that they’re now all very much indoor cats. (The youngest one sneezed up a bot fly larva about a year ago, and that was Too Much for me, so now they have to stay indoors.) I won’t go on too much about each of them, but I will say that the fifth cat really balanced things out nicely. You don’t hear that very often! But we had three female cats (who, after a lot of turmoil between the younger two, had settled into more or less of a truce), and then our neighbor’s male cat decided he’d rather live here, thanks, and that really brought chaos into the cat community. He did settle down after we got him neutered, but it wasn’t until we got him a friend (a male kitten) that most of the wrinkles got ironed out.

This youngest cat (Bitsy) has always floated around as though the world were made for him, a little prince whom everybody loves. And it’s like the other cats went, “I guess we DO love him?” I’ve caught him snuggled up with all four of the cats at various times, and he’s seemed to make the others more accepting of one another, as well. It’s not 100%, but it’s pretty good, considering. I like to say that they went from being four random cats to a working cat colony once there were five of them.

But Beany is still the boss. She has been since I got her when she was a nine-month-old cat child. I had an older male cat already, and Beany came home and started running the place. But she’s always been good with kittens — I think it helps that she doesn’t doubt her position at the top! I really hope she’s still stealing my spot on the sofa many years from now.

Blank Slate

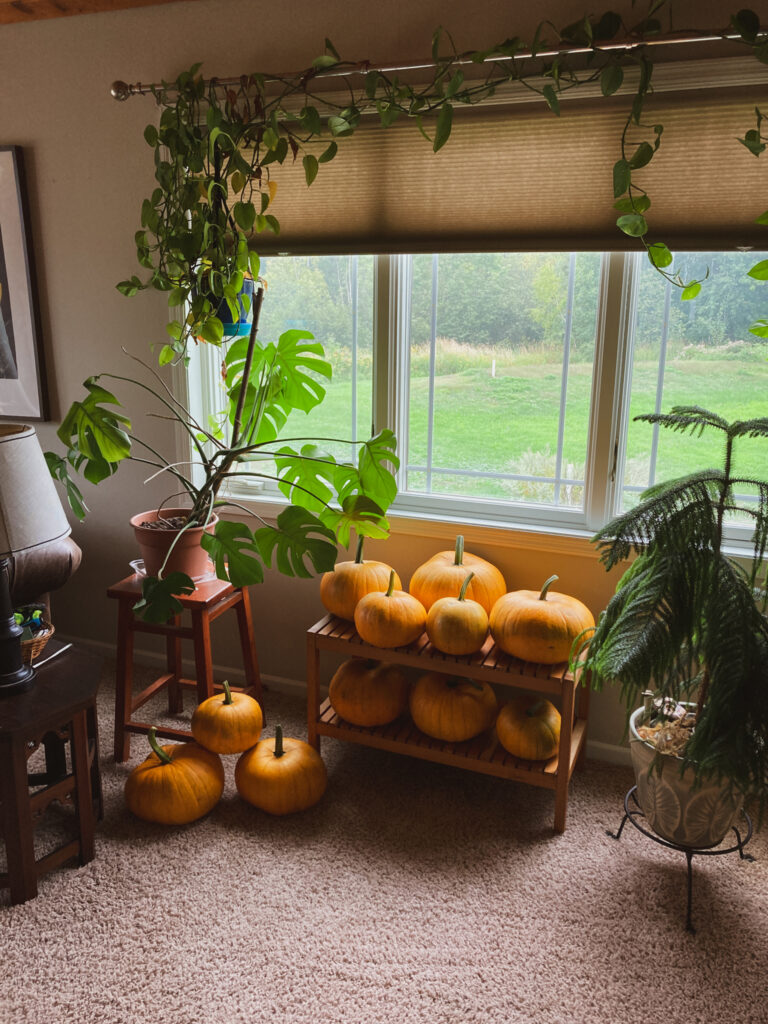
Many homegrown pumpkins, arranged on a bench, in front of a window.

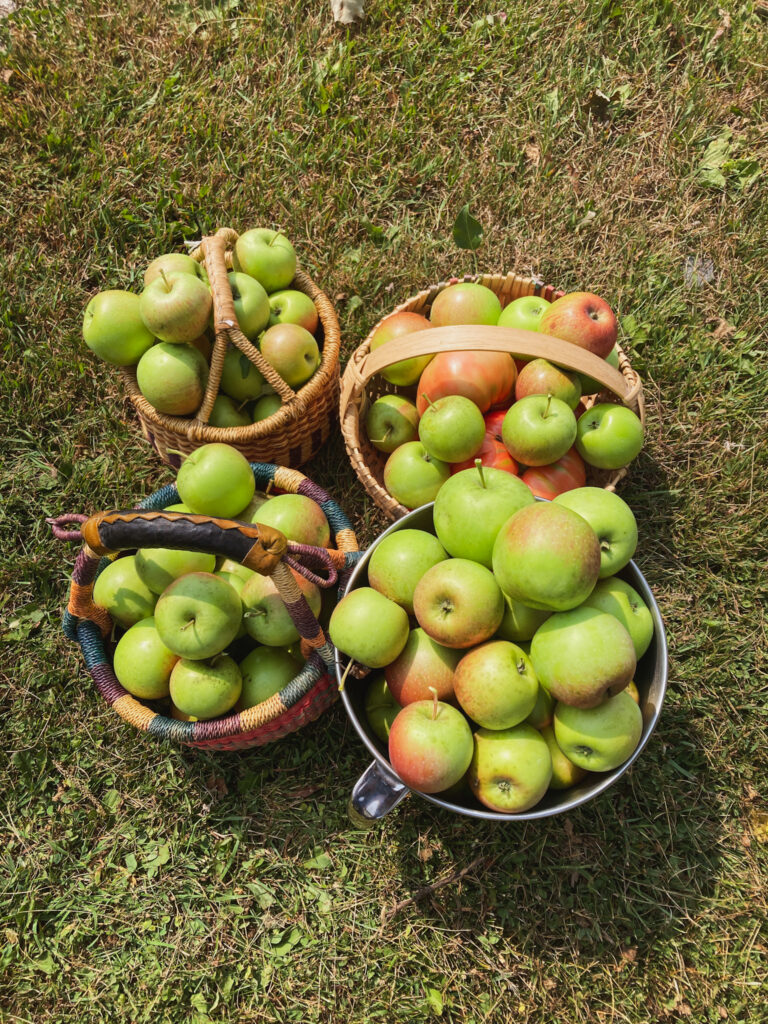
Many small apples from a Haralson tree, in baskets.

I’ve decided to start from scratch, here on this blog. I’ve kept a blog since 2000, posting less and less… and less often as the years have gone on. I’m not into monetizing or posting sponsored content, and places like Instagram are so good for posting a quick photo and a quicker caption. But maybe, with a fresh start, I might like to start writing more again, in my own space.

I’m currently in harvest mode. We live out in the country, but my garden is modest. In fact, I had hardly any garden at all the past two years, because my daughters and I were much more interested in getting out in our new (to us) pop-up camper. All our gardens grew those summers were weeds and a few volunteer tomatoes!

This year, I put in the hours of weeding and turning and hauling up old bunny litter to add to our raised beds. Everything is a little wild and overgrown at this point in the year, but at least it’s mostly stuff that *I* put in there! We wound up with fourteen “Cornfield Pumpkins” (from Seedsavers), which are supposed to be good for carving — and I hope also eating, but we’ll see! It’s way more than we need, but it’s so satisfying to grow them.

Our apple trees are also doing their best this year. I planted them in 2018, and we had a few years where they would bloom like crazy but set no apples. Last year, I got a decent crop from the Haralson tree and a few from our Honeycrisp. This year, they’re both loaded! They’re still not very big trees, so the poor Haralson was bent nearly double under the weight of all its apples. I picked the top half of the tree a few days ago, to give it a break. There were 95 apples on just the top! They’re not 100% ripe yet, but they’re good enough for making apple sauce.

In anticipation of All These Apples, I bought myself a nice dehydrator this summer. I dried some slices yesterday (too thin, though), and today I’ve got several trays of apple sauce turning — hopefully! — into fruit leather. In the past, I’ve processed our apples by peeling and slicing them and then putting them in the freezer, but I just don’t bake with apples often enough to use them all. But fruit leather would be a nice treat!

There have been and are still a lot of other things to harvest, but apples and pumpkins are perfect for the first day of September!

Zipper Tutorial

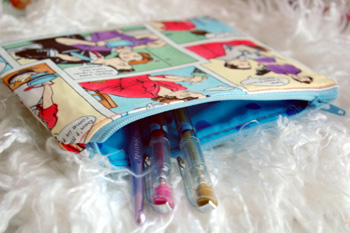
Once upon a time, somebody asked how I do my zippers. Because I like to share knowledge, I decided I’d write up a little tutorial for my method (and probably the method of others, too). Because I am lazy busy, it’s taken me a long time, but I finally got round to it.
Some things: This is a tutorial for a zipped pouch, but you can use the same method on larger projects. If you put little ‘end caps’ on the ends of the zipper before sewing it into your project, you can have a zip that doesn’t go all the way across, as with this purse. Doing that can take some jiggery pokery to get it to work, but it’s not so difficult, really.
[Just a note: I’ve had to close the comments on this post, because it was starting to get pretty heavily spammed. Thank you to everybody who has used and enjoyed this tutorial!]
Right! With one piece of your lining fabric right-side-up, place the zipper, also right-side-up, like so:

Take one piece of your outer fabric and lay it down on top, right-side-down, creating a delicious zipper sandwich. Baste or pin everything together if you like, but I live on the edge and just go for it! Don’t be afraid — what’s the worst that can happen? You’ll repeatedly mess up and tear out the stitches until you’re left with a threadbare pile of scraps that you have to throw away? Pshaw! . . .Okay, maybe you should pin it.
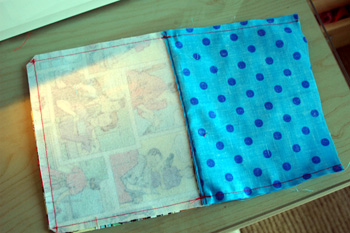
Anyway, now that your pieces are laid out like the photo below, sew them all together. Go down the left edge (to the left of the zipper teeth) using a zipper foot. You really do need a zipper foot. Find one, use one, and then you’ll say, ‘No wonder I had so much trouble before!’

With your sewn zipper sandwich, fold back the two pieces of fabric so the wrong sides are together, like so:

Again, you can pin your pieces together or iron it flat, but I just can’t be bothered. Flatten everything out and topstitch about 1/8″ from the edge, where the fabric meets the zipper. You should catch all three layers (outside, ziper, lining) and squash everything right down. It will look like this (you may need to click to see the detail):

Repeat for the other side of the zipper, and you’ll wind up with something like the photo below. At this point, I took a moment to square everything up again — not pinning can take its toll! I’m not afraid.

Flip some fabric around until you’ve got both pieces of outer fabric on one side of the zipper and both pieces of lining fabric on the other. It’ll look like this:

Carefully line up the top edges of the outer fabric as in the photo below. Note how the zipper goes toward the lining. Now’s a good time for pinning.

Starting at the seam where everything meets (see below), sew straight down to the bottom. Flip the pouch over and repeat for the other side of outer fabric. With both sides sewn up, reach in through the bottom and unzip the zipper. Oooh, you’ll be so mad if you forget that part!

Line up the edges of the lining and sew down the sides, as you did with the outer fabric. Now you should be catching the ends of the zipper in the first few stitches.

Once you’ve finished both sides, you’ll have something resembling the photo below. I left the bottom of the lining completely open, because my outer fabric has interfacing on it (it makes it stiffer and more difficult to turn). If you’re using a lighter, friendlier fabric, you can sew up part of the bottom, leaving a smaller hole to turn the piece through.

Snip the excess fabric from the corners of the outer fabric. Then go ahead and turn the whole thing right-side-out. Turn under about 1/2″ of the bottom of the lining, press it flat, and sew it closed. No more raw edges!

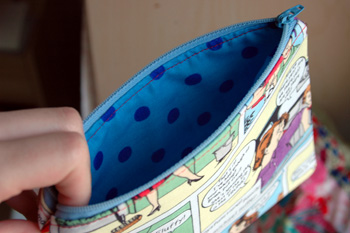
Tuck the lining into the pouch, and it’s practically finished!

All you have to do is iron out any wrinkles and then admire your lovely new pouch with its perfect zip. Hooray!