I’ve been thinking a lot about the good old days of blogging. What a shame that we’ve all but lost that form to social media. I use Instagram a ton, but it’s not the same. There’s not the sense of community and sharing that I (and I think a lot of us) used to feel in the early 2000s. I started blogging in 2000 and moved into the craft-blog sphere as that started to grow, sort of right around 2005. What a time to be on the internet! Blogs really were about community, not commerce. I miss that.
There are definitely still regular or semi-regular bloggers out there, writing about their lives, not just producing a string of sponsored posts. I pulled out one of my old DSLRs (the one I used for the photos in this post is only about eleven years old and is not my favorite, but I’m waiting for a new battery for the better camera!) and took some photos yesterday to remember what it used to be like before I carried a pretty-okay camera in my pocket, wherever I went. (I have an iPhoneSE, so it’s not The Best.)
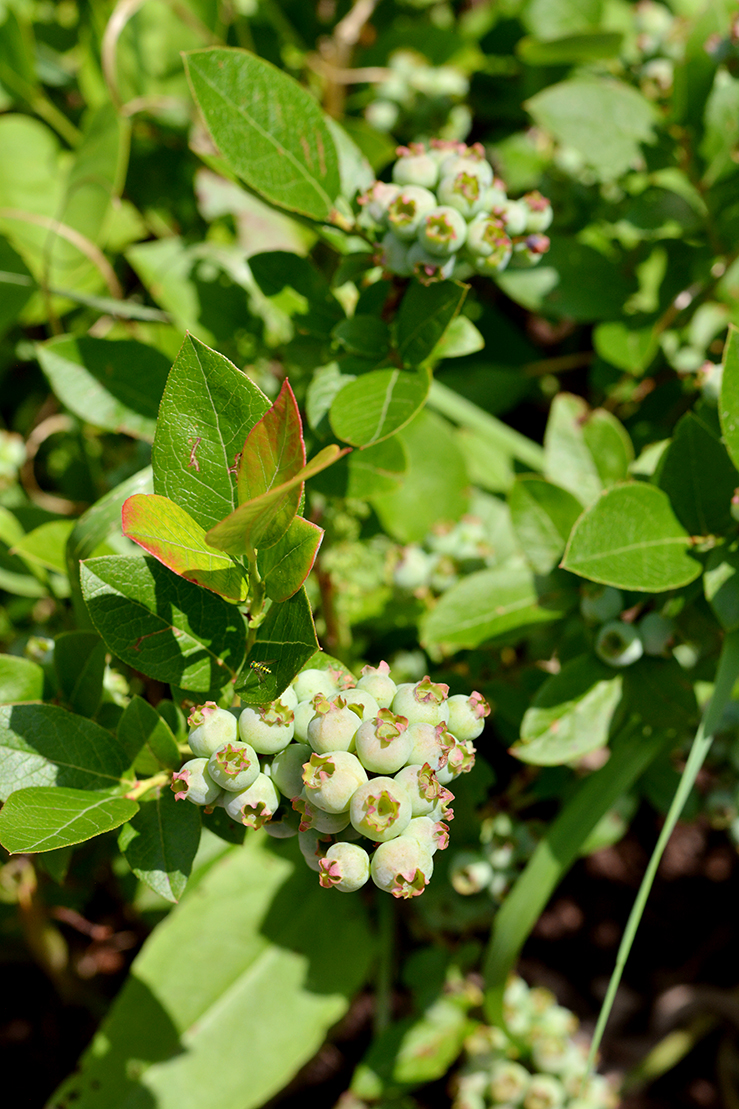
Our garden this year has been beset with fluffy bunnies. It’s the first year where all of our cats stay indoors the whole time, and the neighbor whose cats used to wander onto our property has moved away. Apparently this hasn’t gone unnoticed by the rabbits! My raised beds are fenced to keep the deer out, but of course the rabbits just squeeze on through. I wrapped two of the beds with chicken wire, which seems to be working, and I put our old chicken brooder pen (basically a big frame wrapped in hardware mesh) over our blueberries, which are nearly ripe.
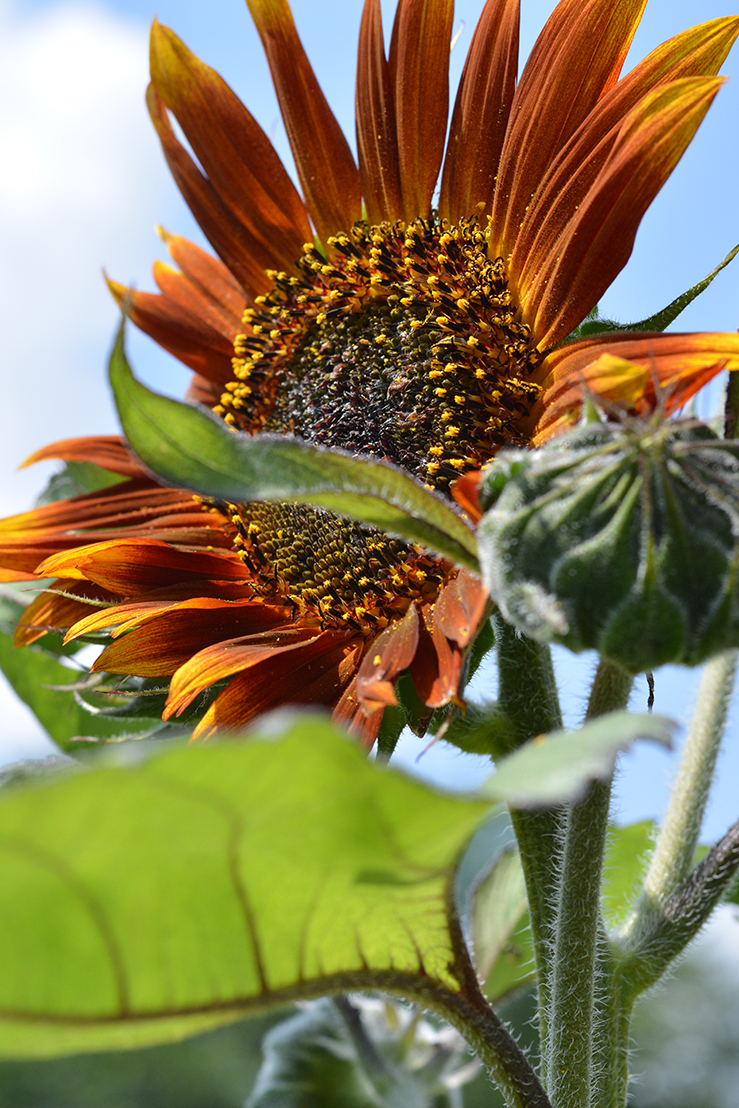
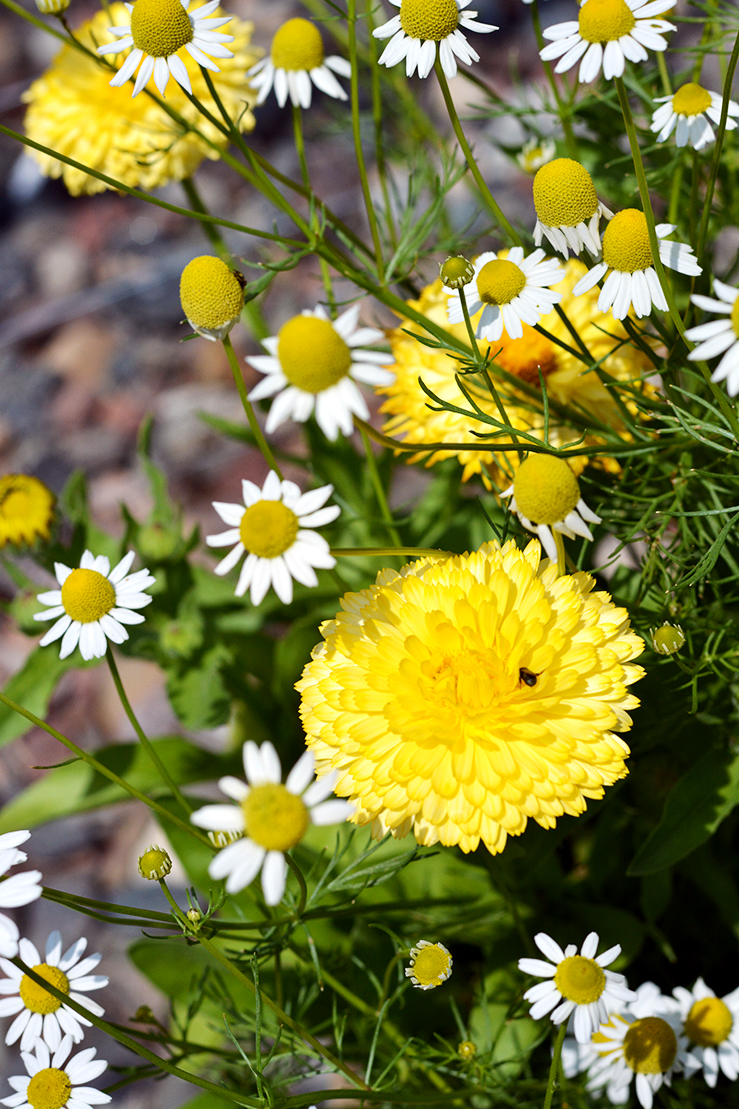
By far the biggest garden successes this year are the plants that self-seeded themselves last year — chamomile and calendula in one bed, a couple of sunflowers in another, along with un-pictured pansies in all sorts of colors.
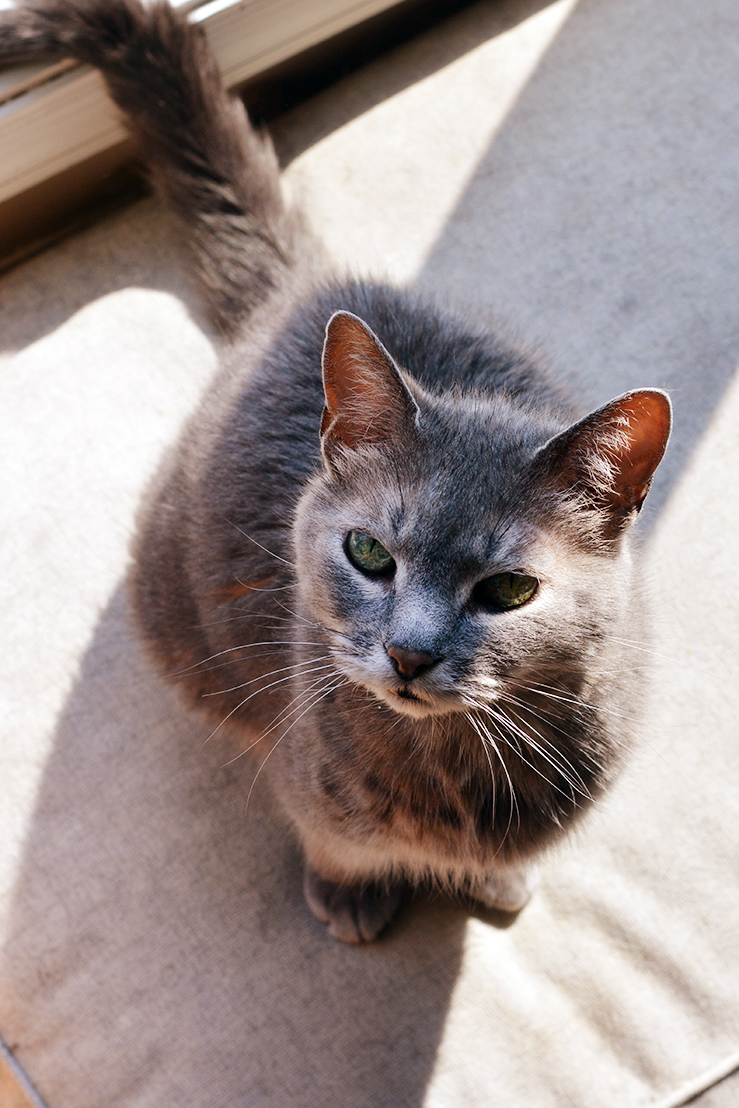
We have plenty of cats INSIDE the house (I will not say how many, to avoid embarrassing myself). Beany is the queeny, as always. She’ll be eighteen at the end of summer!! I feel like the luckiest person ever to have enjoyed her this long, and she’s barely slowed down.
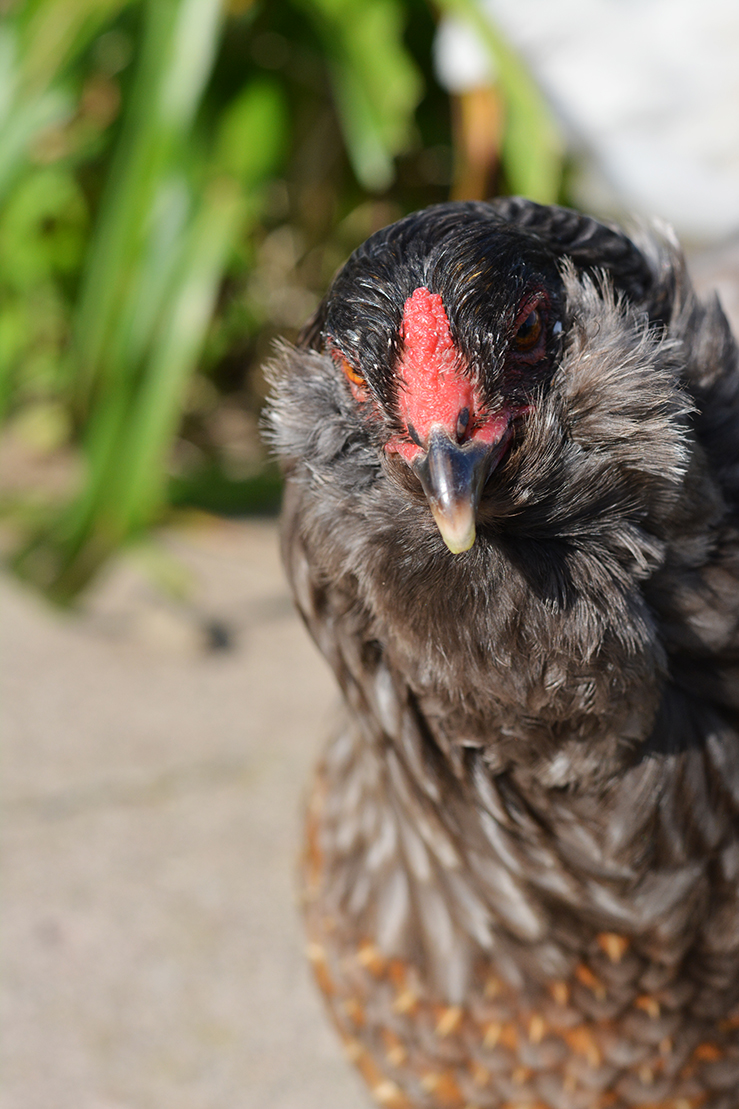
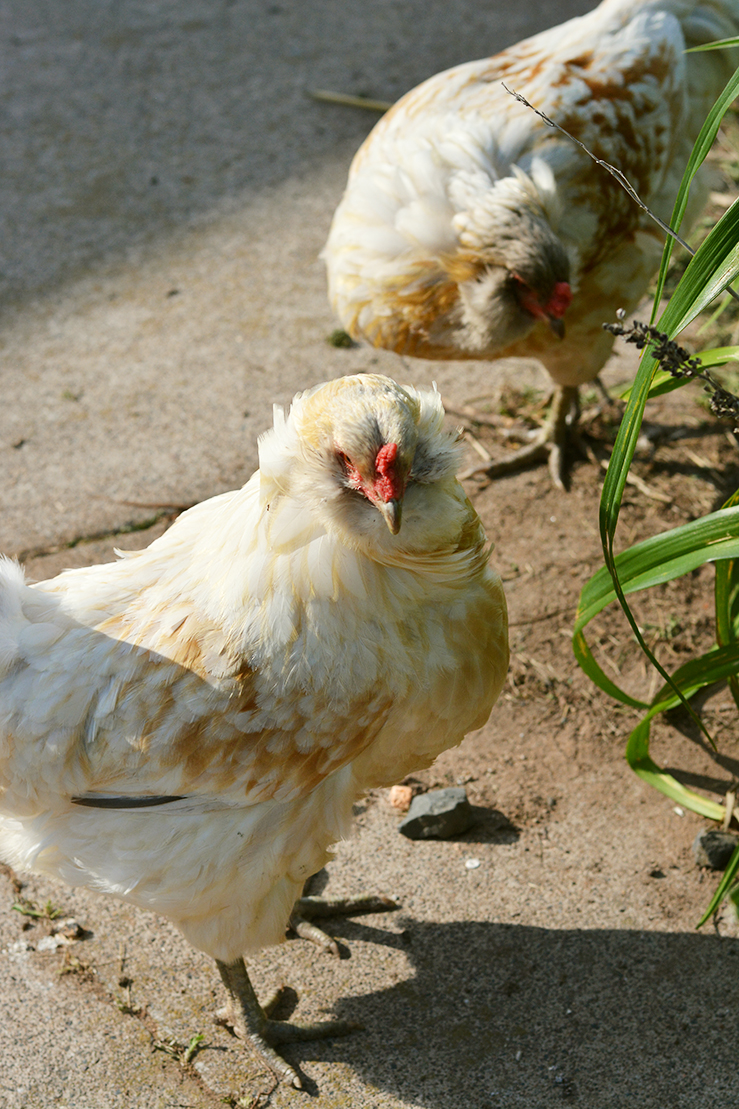
We’re down to just three chickens. Poppy is the gray bird, and she has been on death’s doorstep a couple of times now… and then she just recovers. Tofu, the white hen in the front, is Poppy’s sister, and Sylvie (behind — her head is a bit grayer that Tofu’s) is probably Tofu’s daughter. They’re getting on, in chicken years! Poppy and Tofu are seven years old now, and Sylvie is only a year or two younger. But we’re still getting eggs! As our chicken numbers dwindled, I thought when we got to this few, that I’d see if a friend would add them to their flock. I’m over taking care of chickens! And it’s harder to travel and keep them safe. But I can’t stand the thought of uprooting them and dumping them into a whole new flock, so they stay with us.
I am perhaps SLIGHTLY less crafty than during the craft-blog heyday, but not too much. I do a lot more knitting now, which is convenient when I’m bringing the kids to homeschool meetups. I’ll have to make a post with the things I’ve knit this year. I keep saying a can’t possibly need another sweater, but…
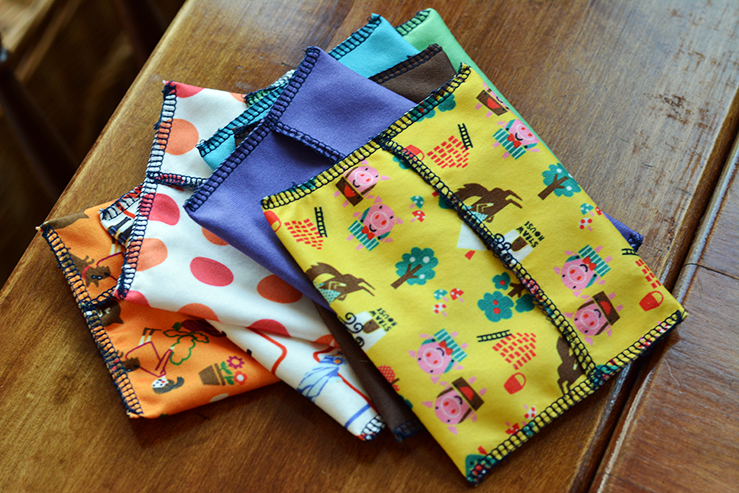
I’ve been in the process of moving my sewing stuff into the room above the garage, which colloquially we call the skyroom, but which I’ve been trying to rename (at least for people who don’t live here) my studio. Hauling stuff upstairs has taken a while, and I’m not done yet! But I finally got the sewing table set up, and I used it to make some reusable snack bags out of PUL. These ones are actually made from the outer layer of the girls’ old cloth diapers! A friend (who currently cloth diapers) thought that sounded gross, but they’ve been clean and sitting, all cut apart, for years and years now. These ones are only big enough for crackers or nuts or whatever (diapers aren’t huge, after all!), but I found some new PUL in my stash that I’m going to use to make sandwich bags. We have silicon reusable bags, but they’re such a PITA to wash and dry!
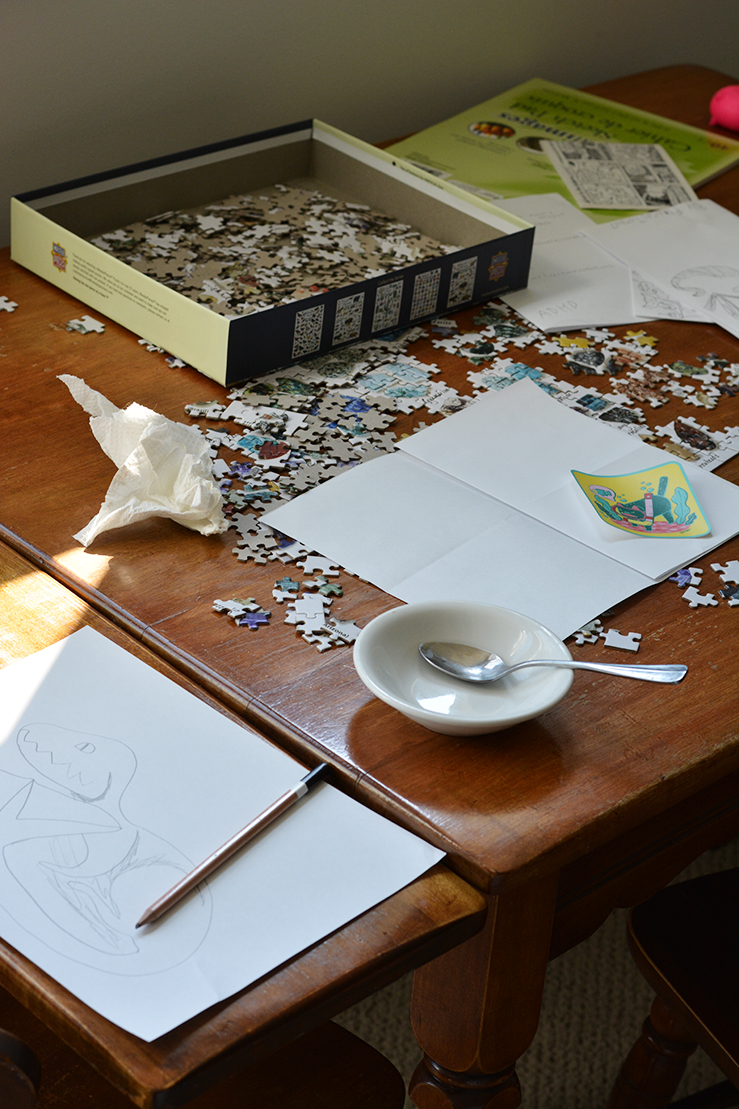
And some real life. This is a table in my studio — MY studio — but it seems to be covered in a puzzle and drawings and a dish that I know I told its child to take back to the kitchen. Oh well. Are these photos too big? They look massive on my monitor, but less so on my laptop, and I’m sure they’re just phone-sized on a phone. We’re all getting old now, so we don’t want to strain our eyes too much!
